
I am confident that I am able to form and pour a small concrete pathway or patio without too much concern. Accurately placing nearly eleven cubic yards of concrete, however, is a rather daunting proposition. With concrete, unlike framing, if one makes a mistake or does not move quickly enough, one’s poor performance cannot be easily rectified and is forever fossilized for scrutiny. As the foundation for my project, I wanted to ensure it was done well. This would be one of three times throughout the project that I would defer to craftsmen who do things like this for a living.
After much research and comparison, I contacted a wonderful concrete craftsman, and requested a quote. I explained to him that I would be performing the demolition activities on the site. He asked if that also meant I would be removing the slab. I responded, in my best, albeit bogus I-build-things-for-a-living-voice, “yeah, sure…I’ll just rent a jack hammer.” There was a long pause, the kind of pause a grandfather takes before imparting wisdom to a knucklehead grandson, and then countered, “…um, yeah…no, you’re not. For me to use my skid steer, it will take me a half an hour and cost you $200.” I mulled over this for a moment, recalling my recent demolition of the structure, the felling of the tree, the ninety-degree heat and the twenty pounds of water weight that I had shed with these two activities, and took him up on the offer. He had called my bluff on my abilities and brought me back down to reality. It was the best $200 I had spent on the project thus far…until a future post….
I received a phone call at work on the morning that the concrete contractor showed up with his skid steer to begin demolition. I had explained to him a few days earlier that I wanted to salvage the busted up old slab for reuse. My plan was to use the rubble to build up a base for a landscape waterfall (ever since a visit to Chinese gardens in Suzhou, China during graduate school, I have had a dream of creating a Chinese garden on my property). I figured it would be cheaper than buying rocks. The contractor was calling to confirm that I did indeed want all of the rubble, and if not, he could haul half of it away with the truck that was already on site to remove the dirt. I insisted that I needed all of the rubble. When I returned home that evening and took a look in the backyard, once again, I had my ambitions checked. I now have the highest point in the state of Minnesota in my backyard.
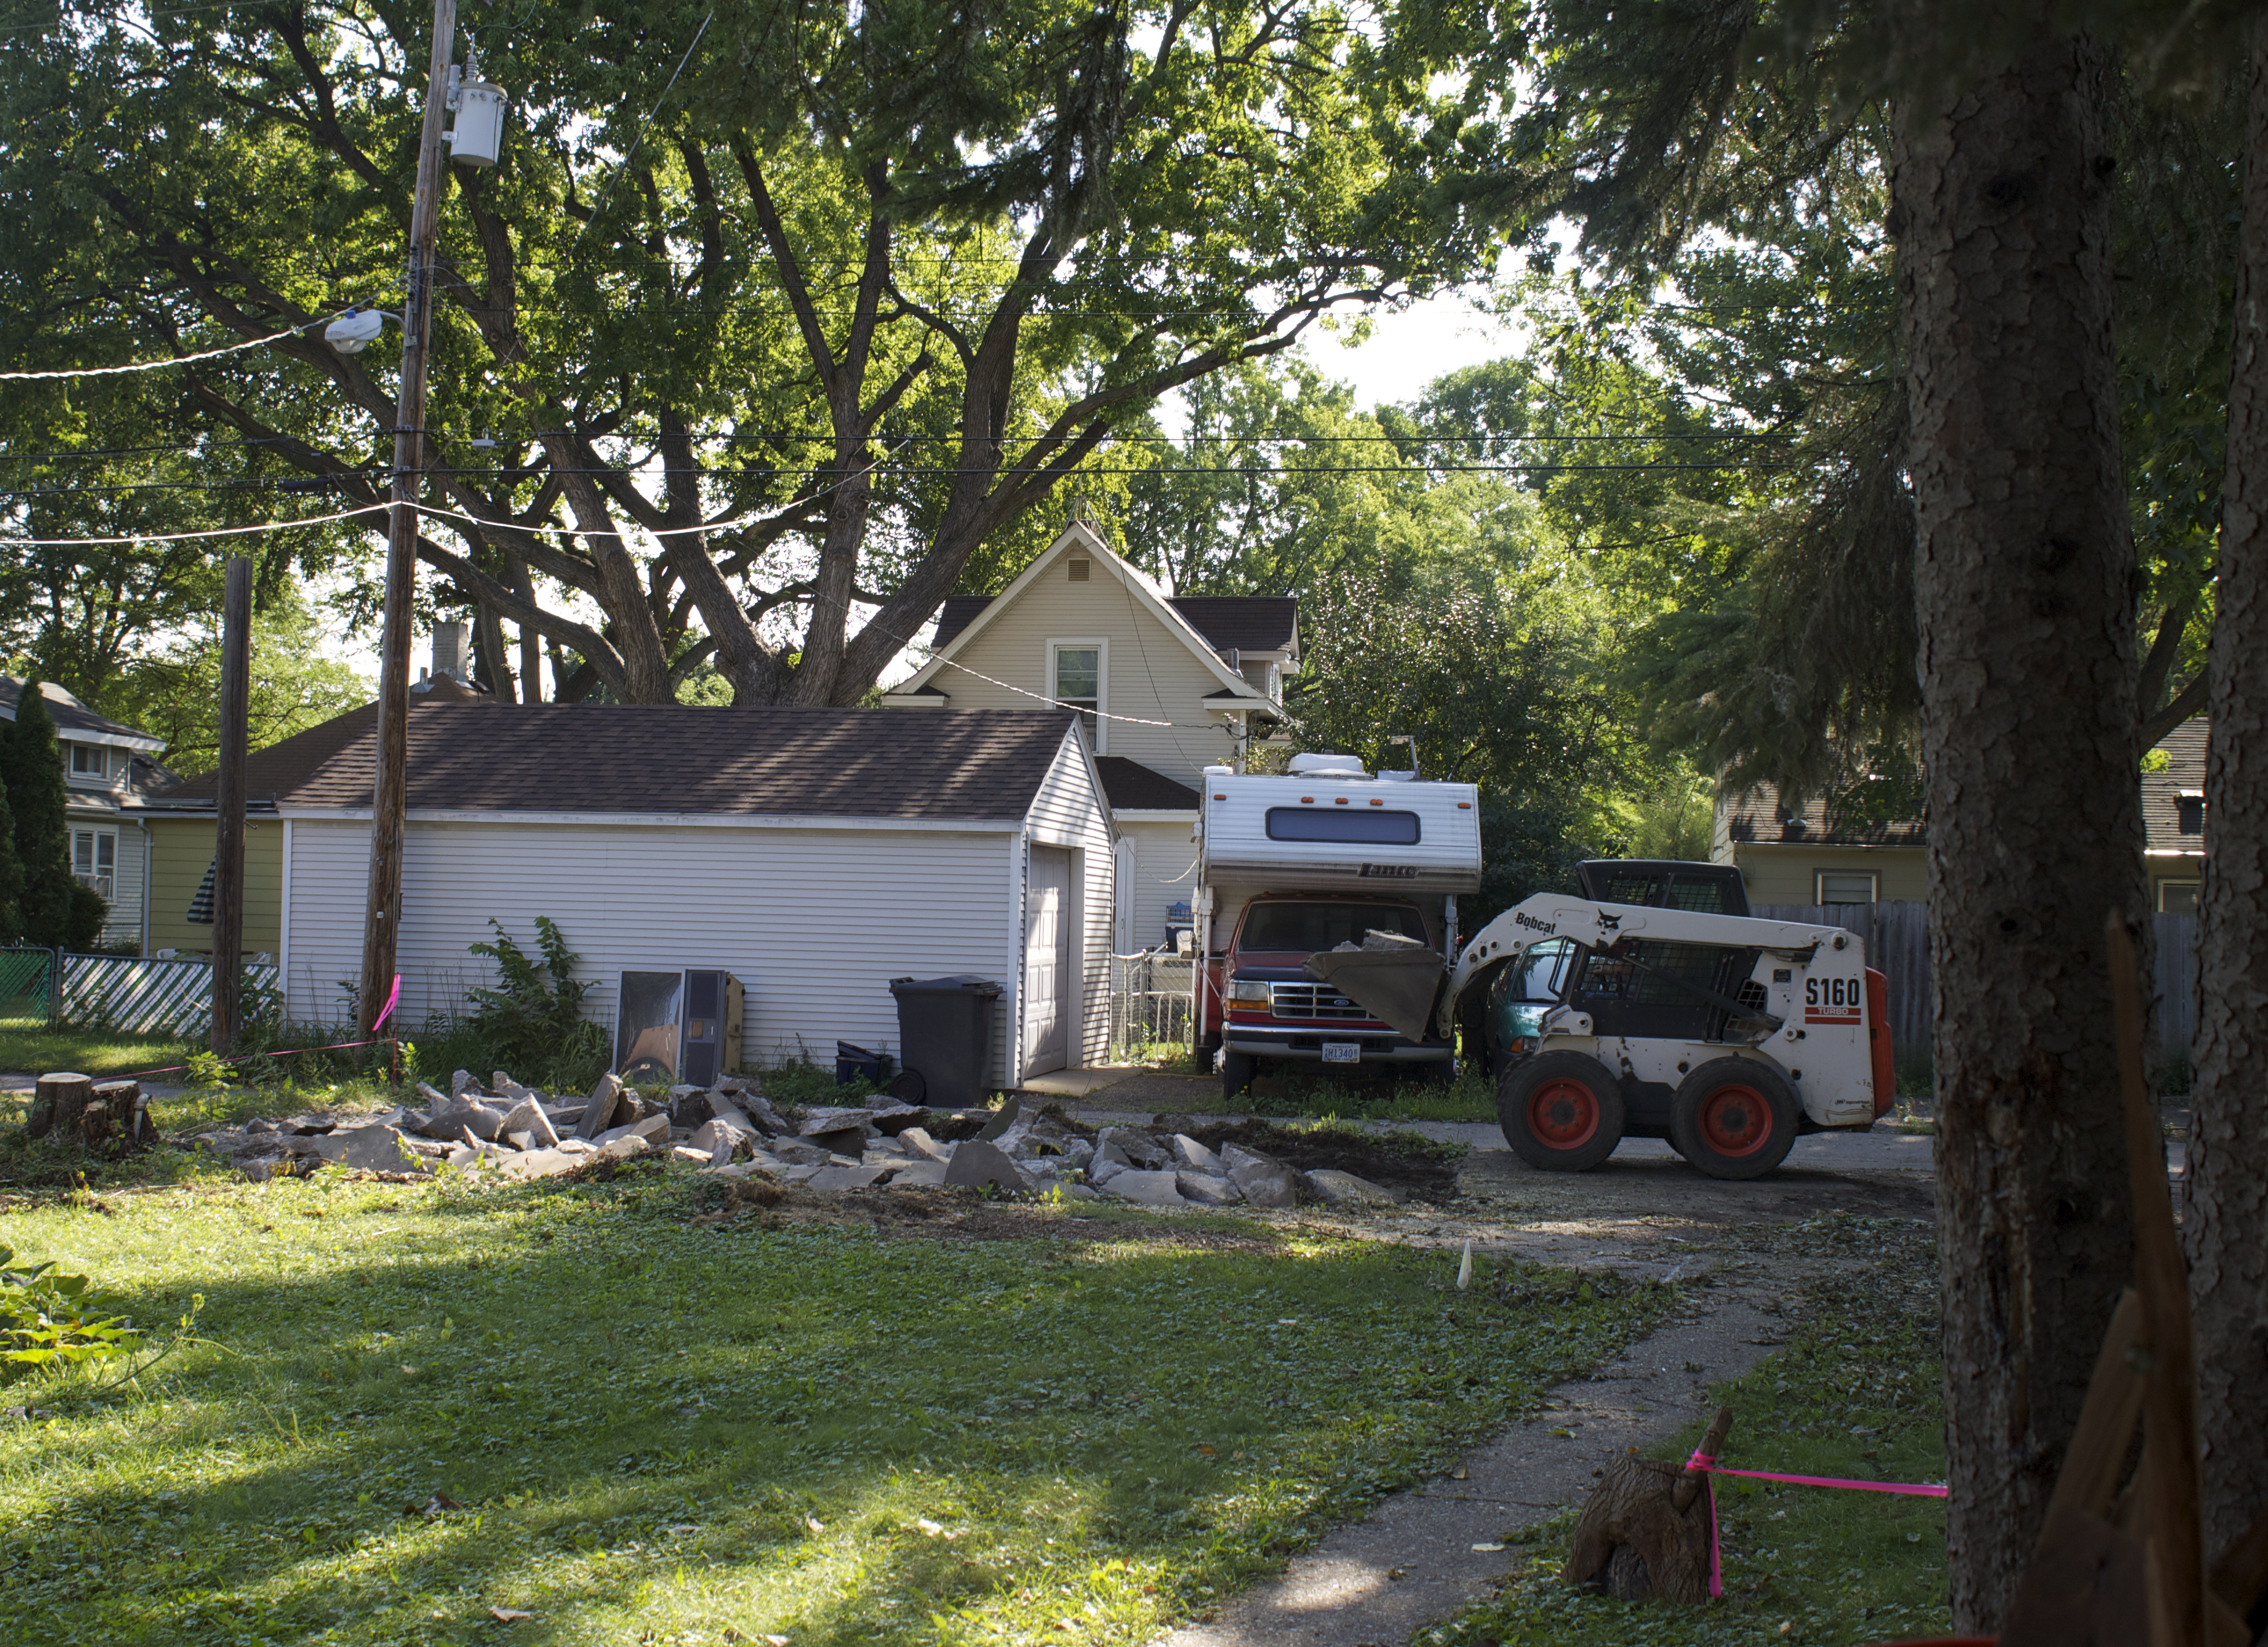
Slab demolition
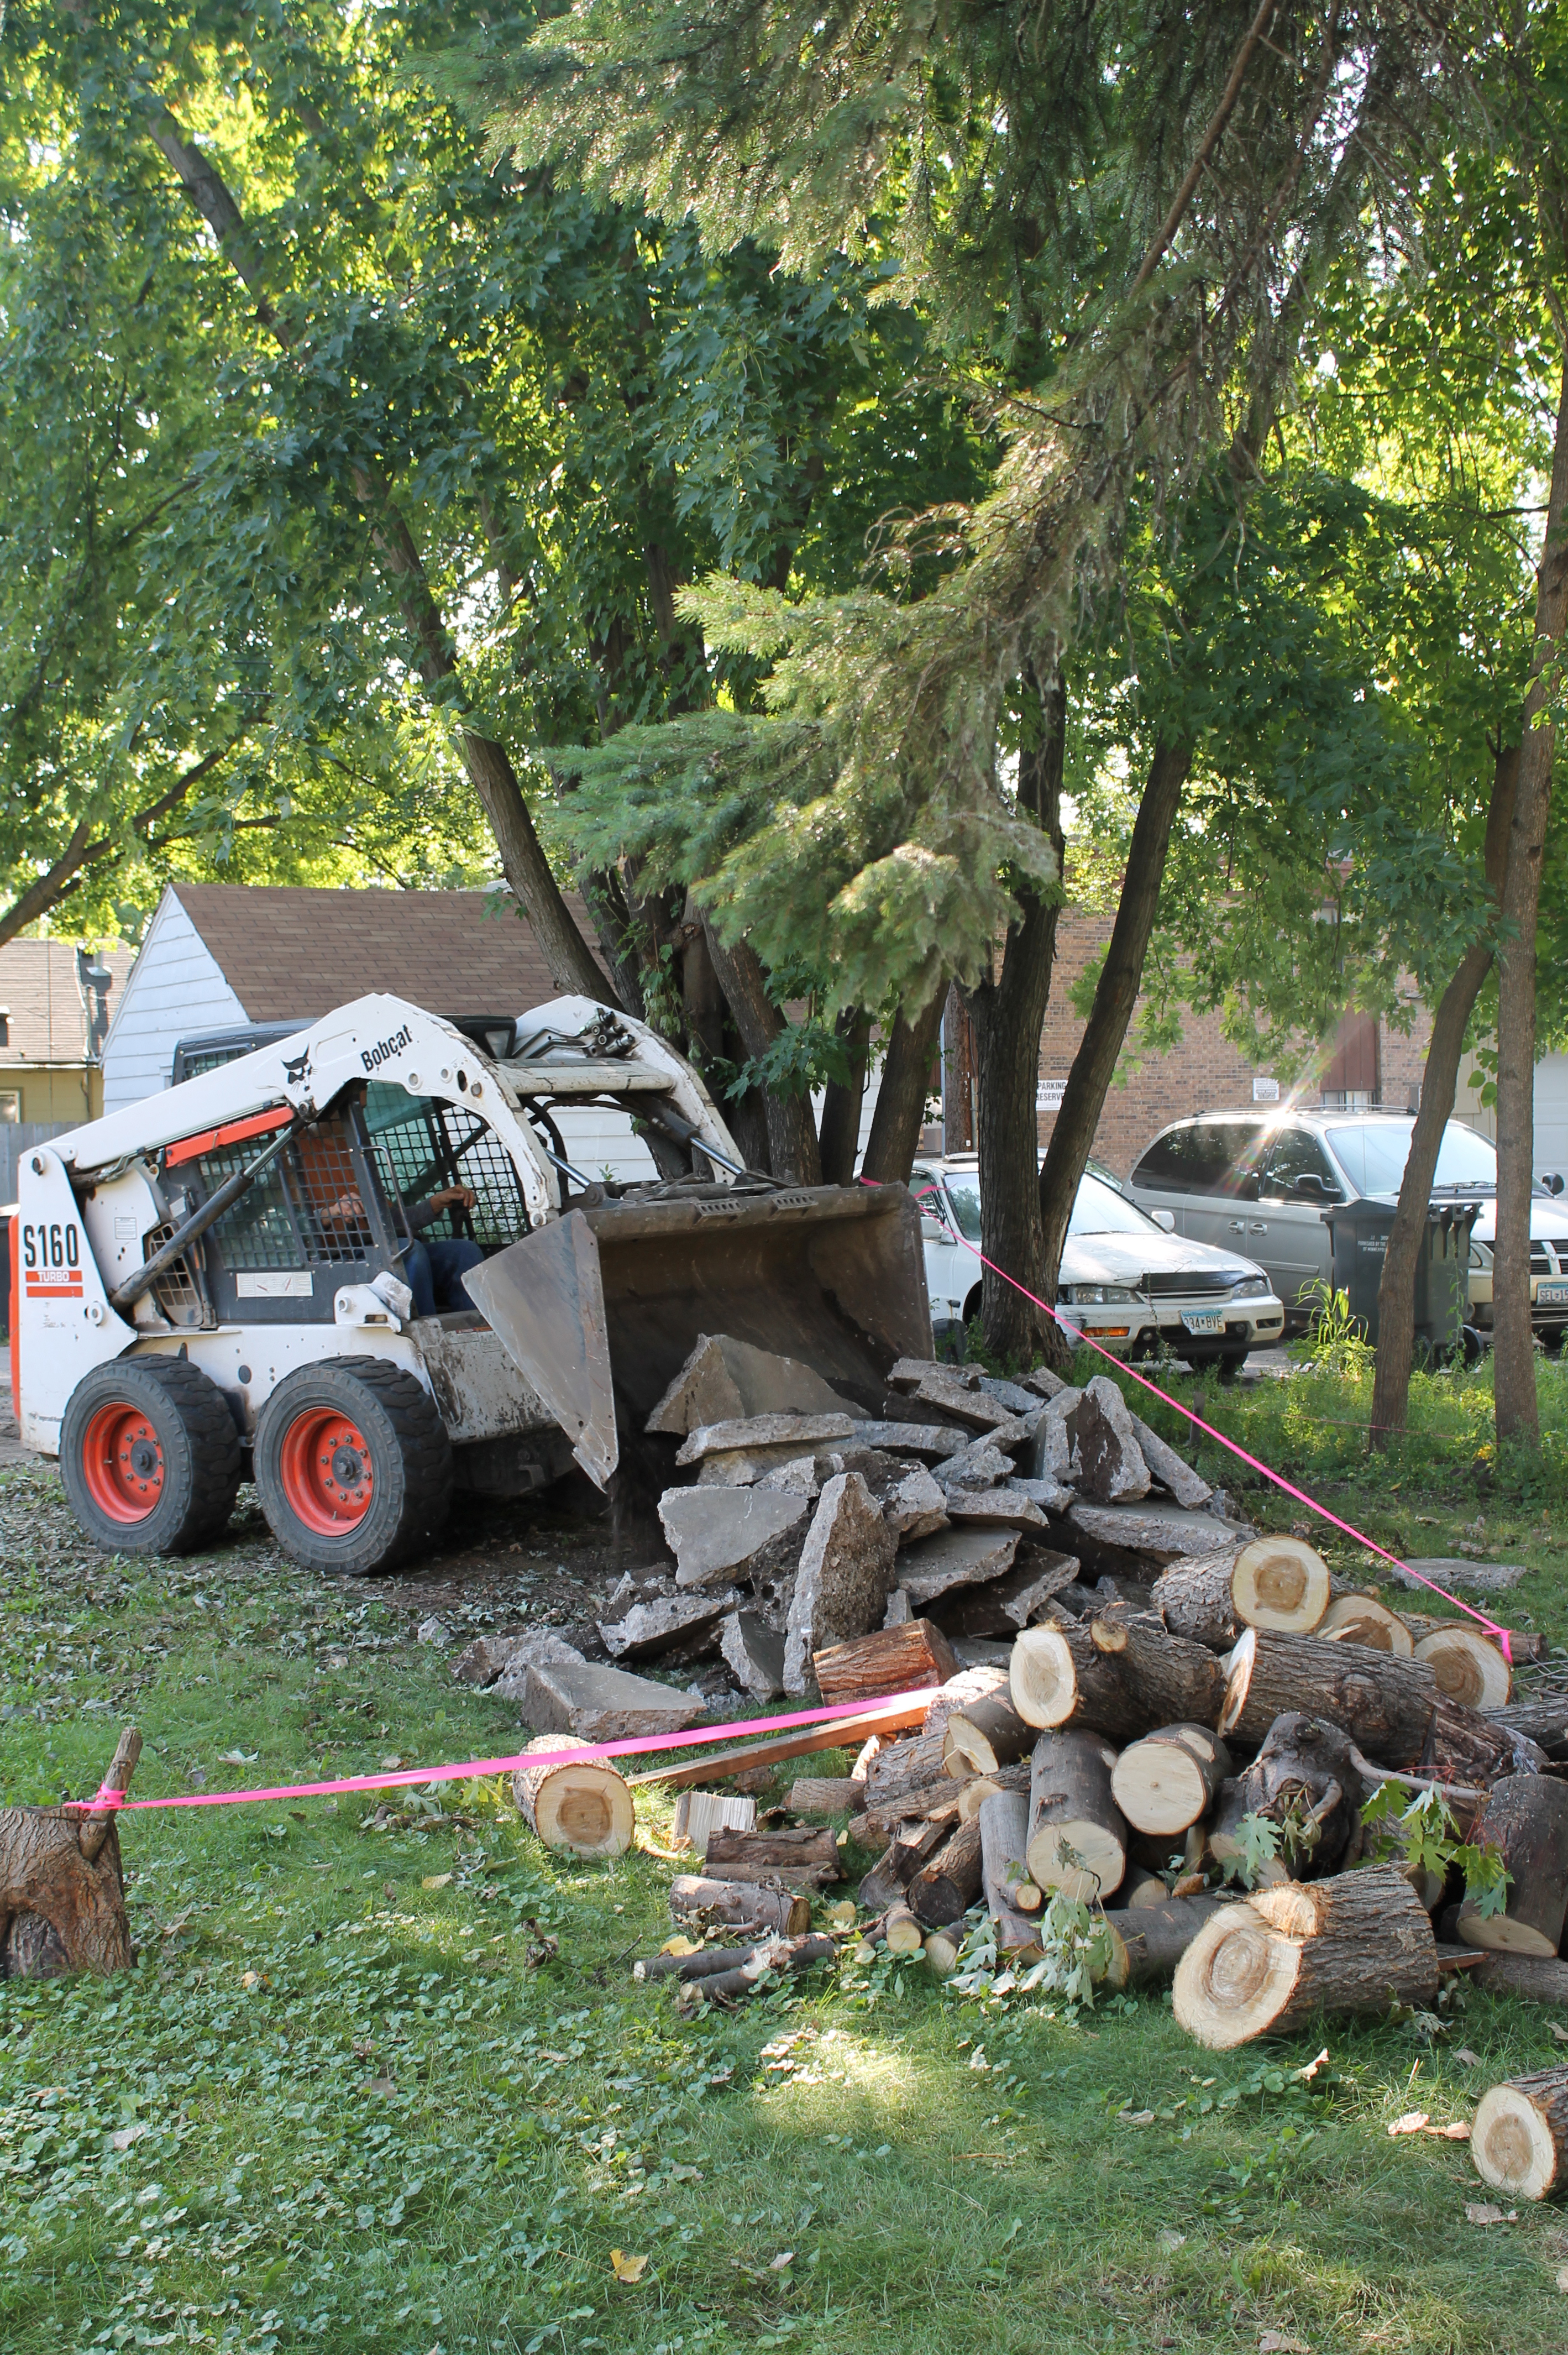
Saving the rubble for my future landscaping projects
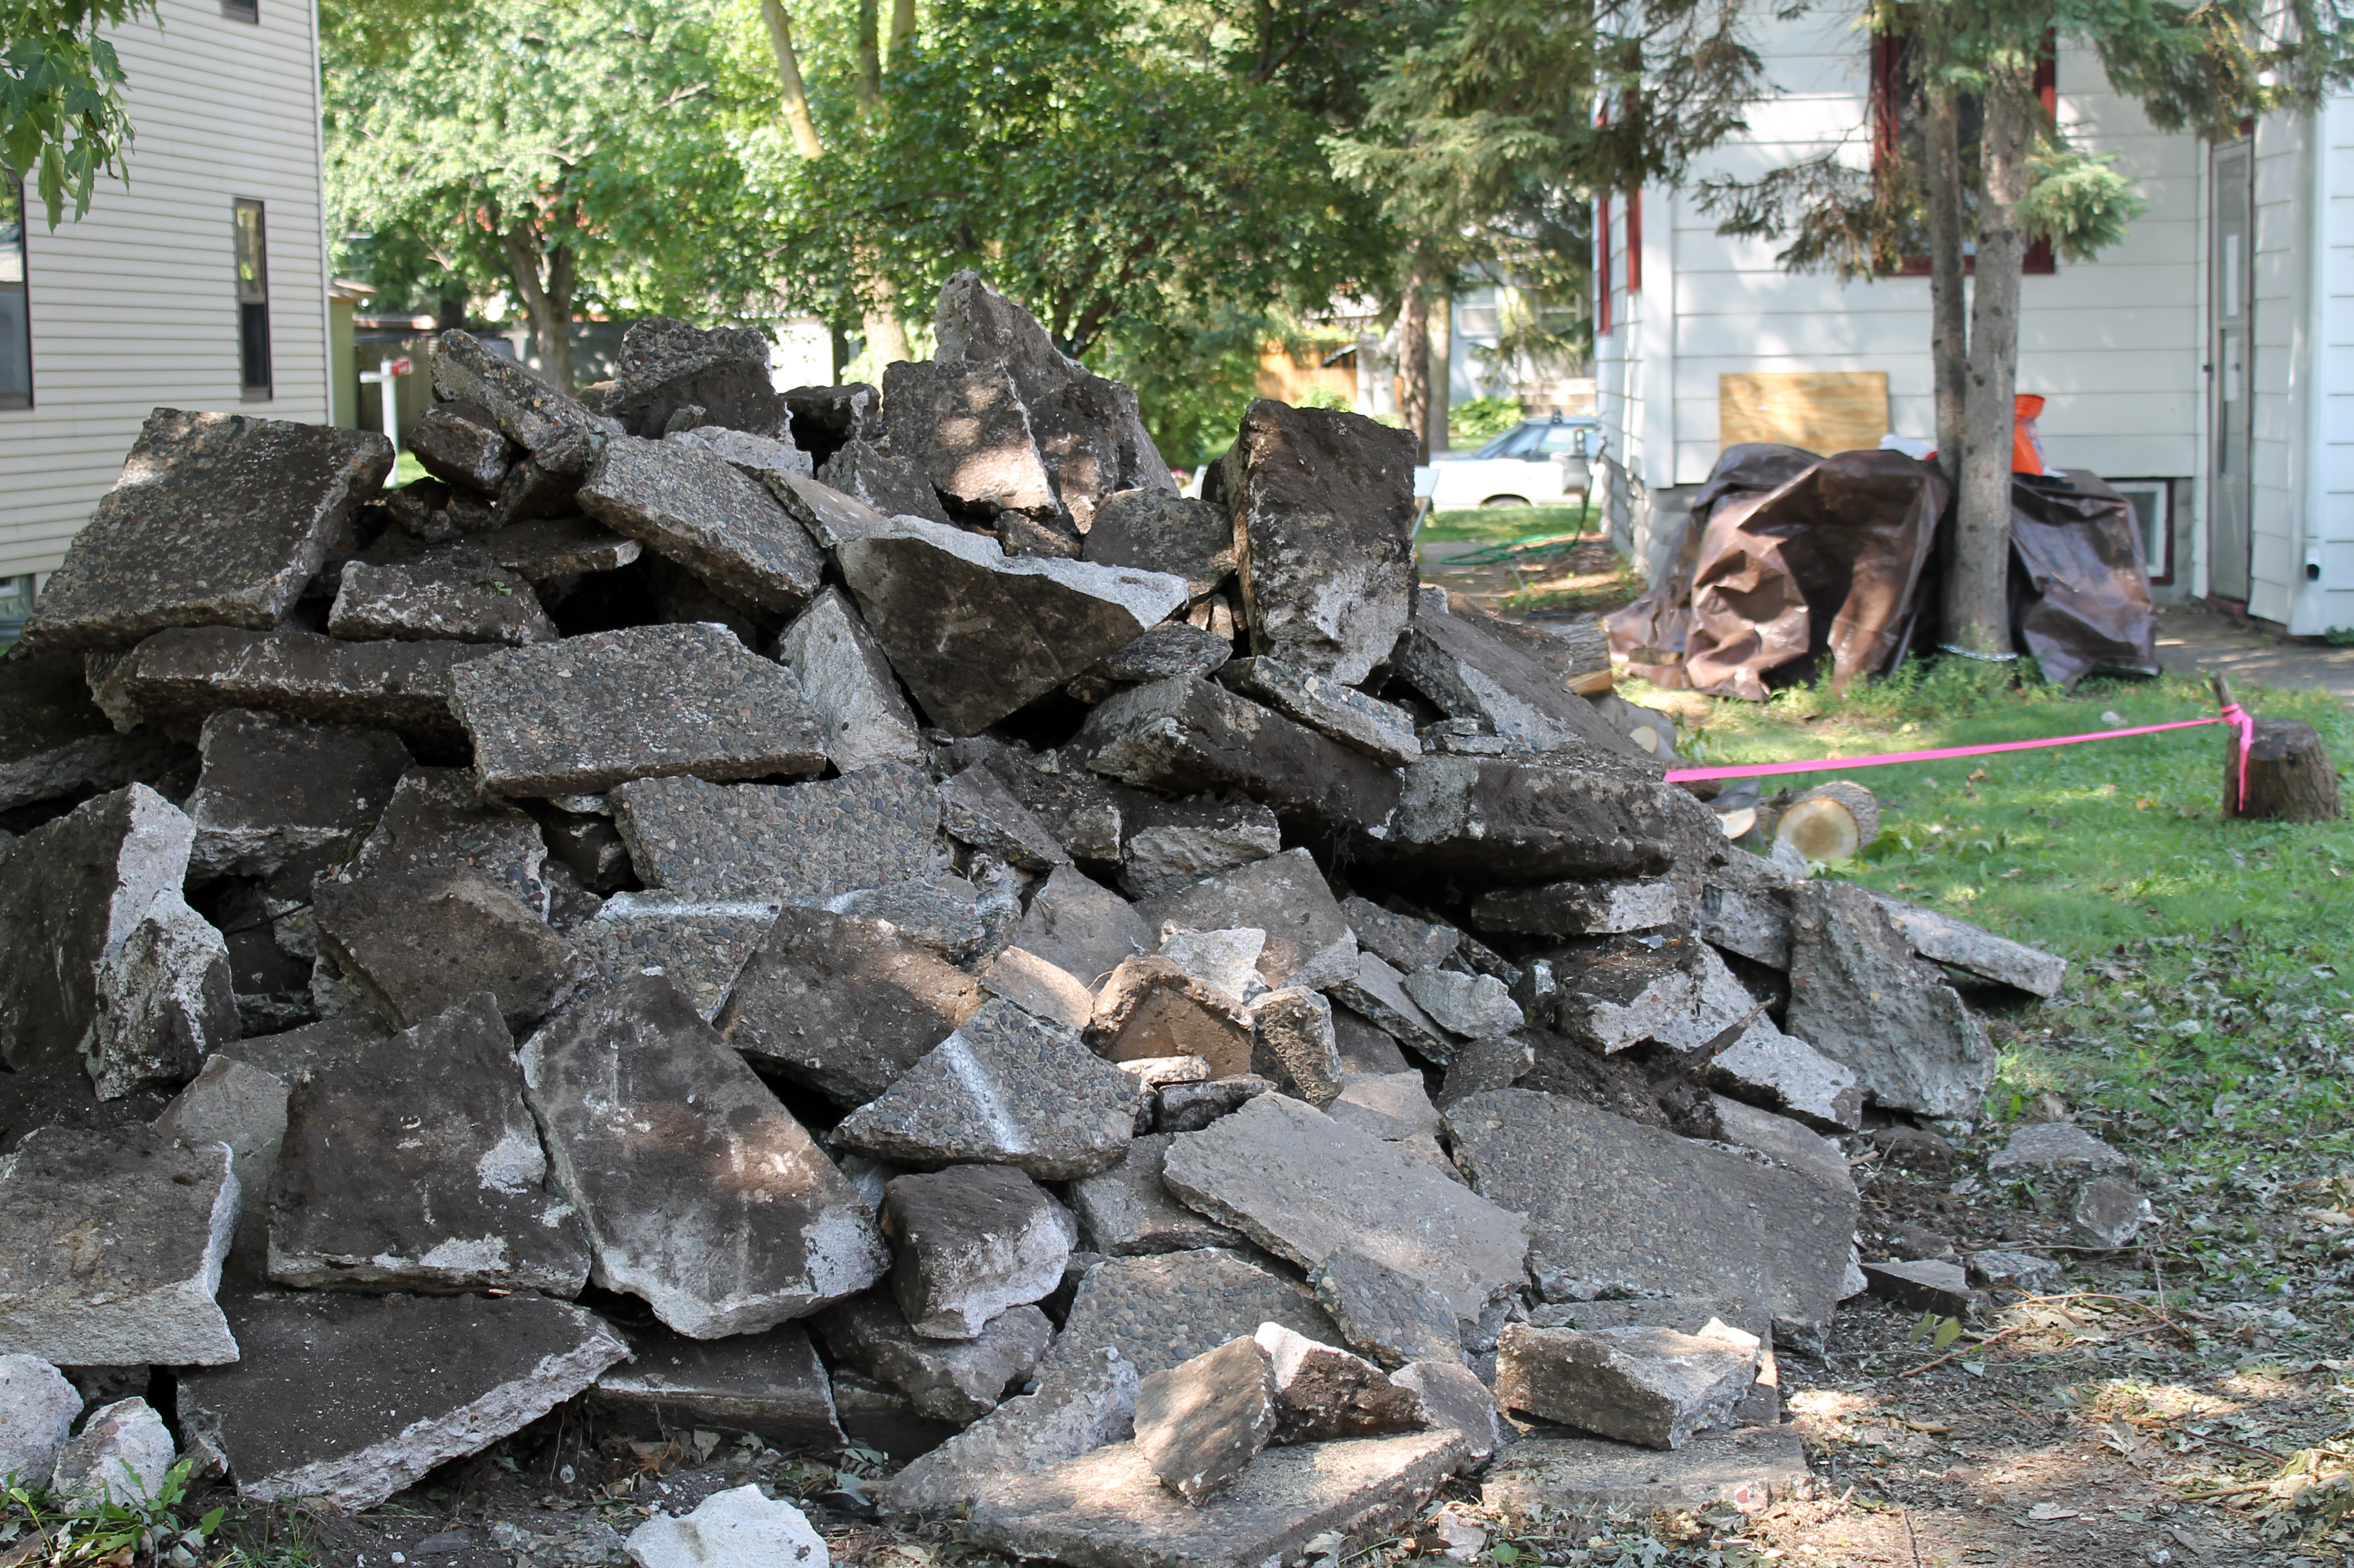
Highest point in Minnesota
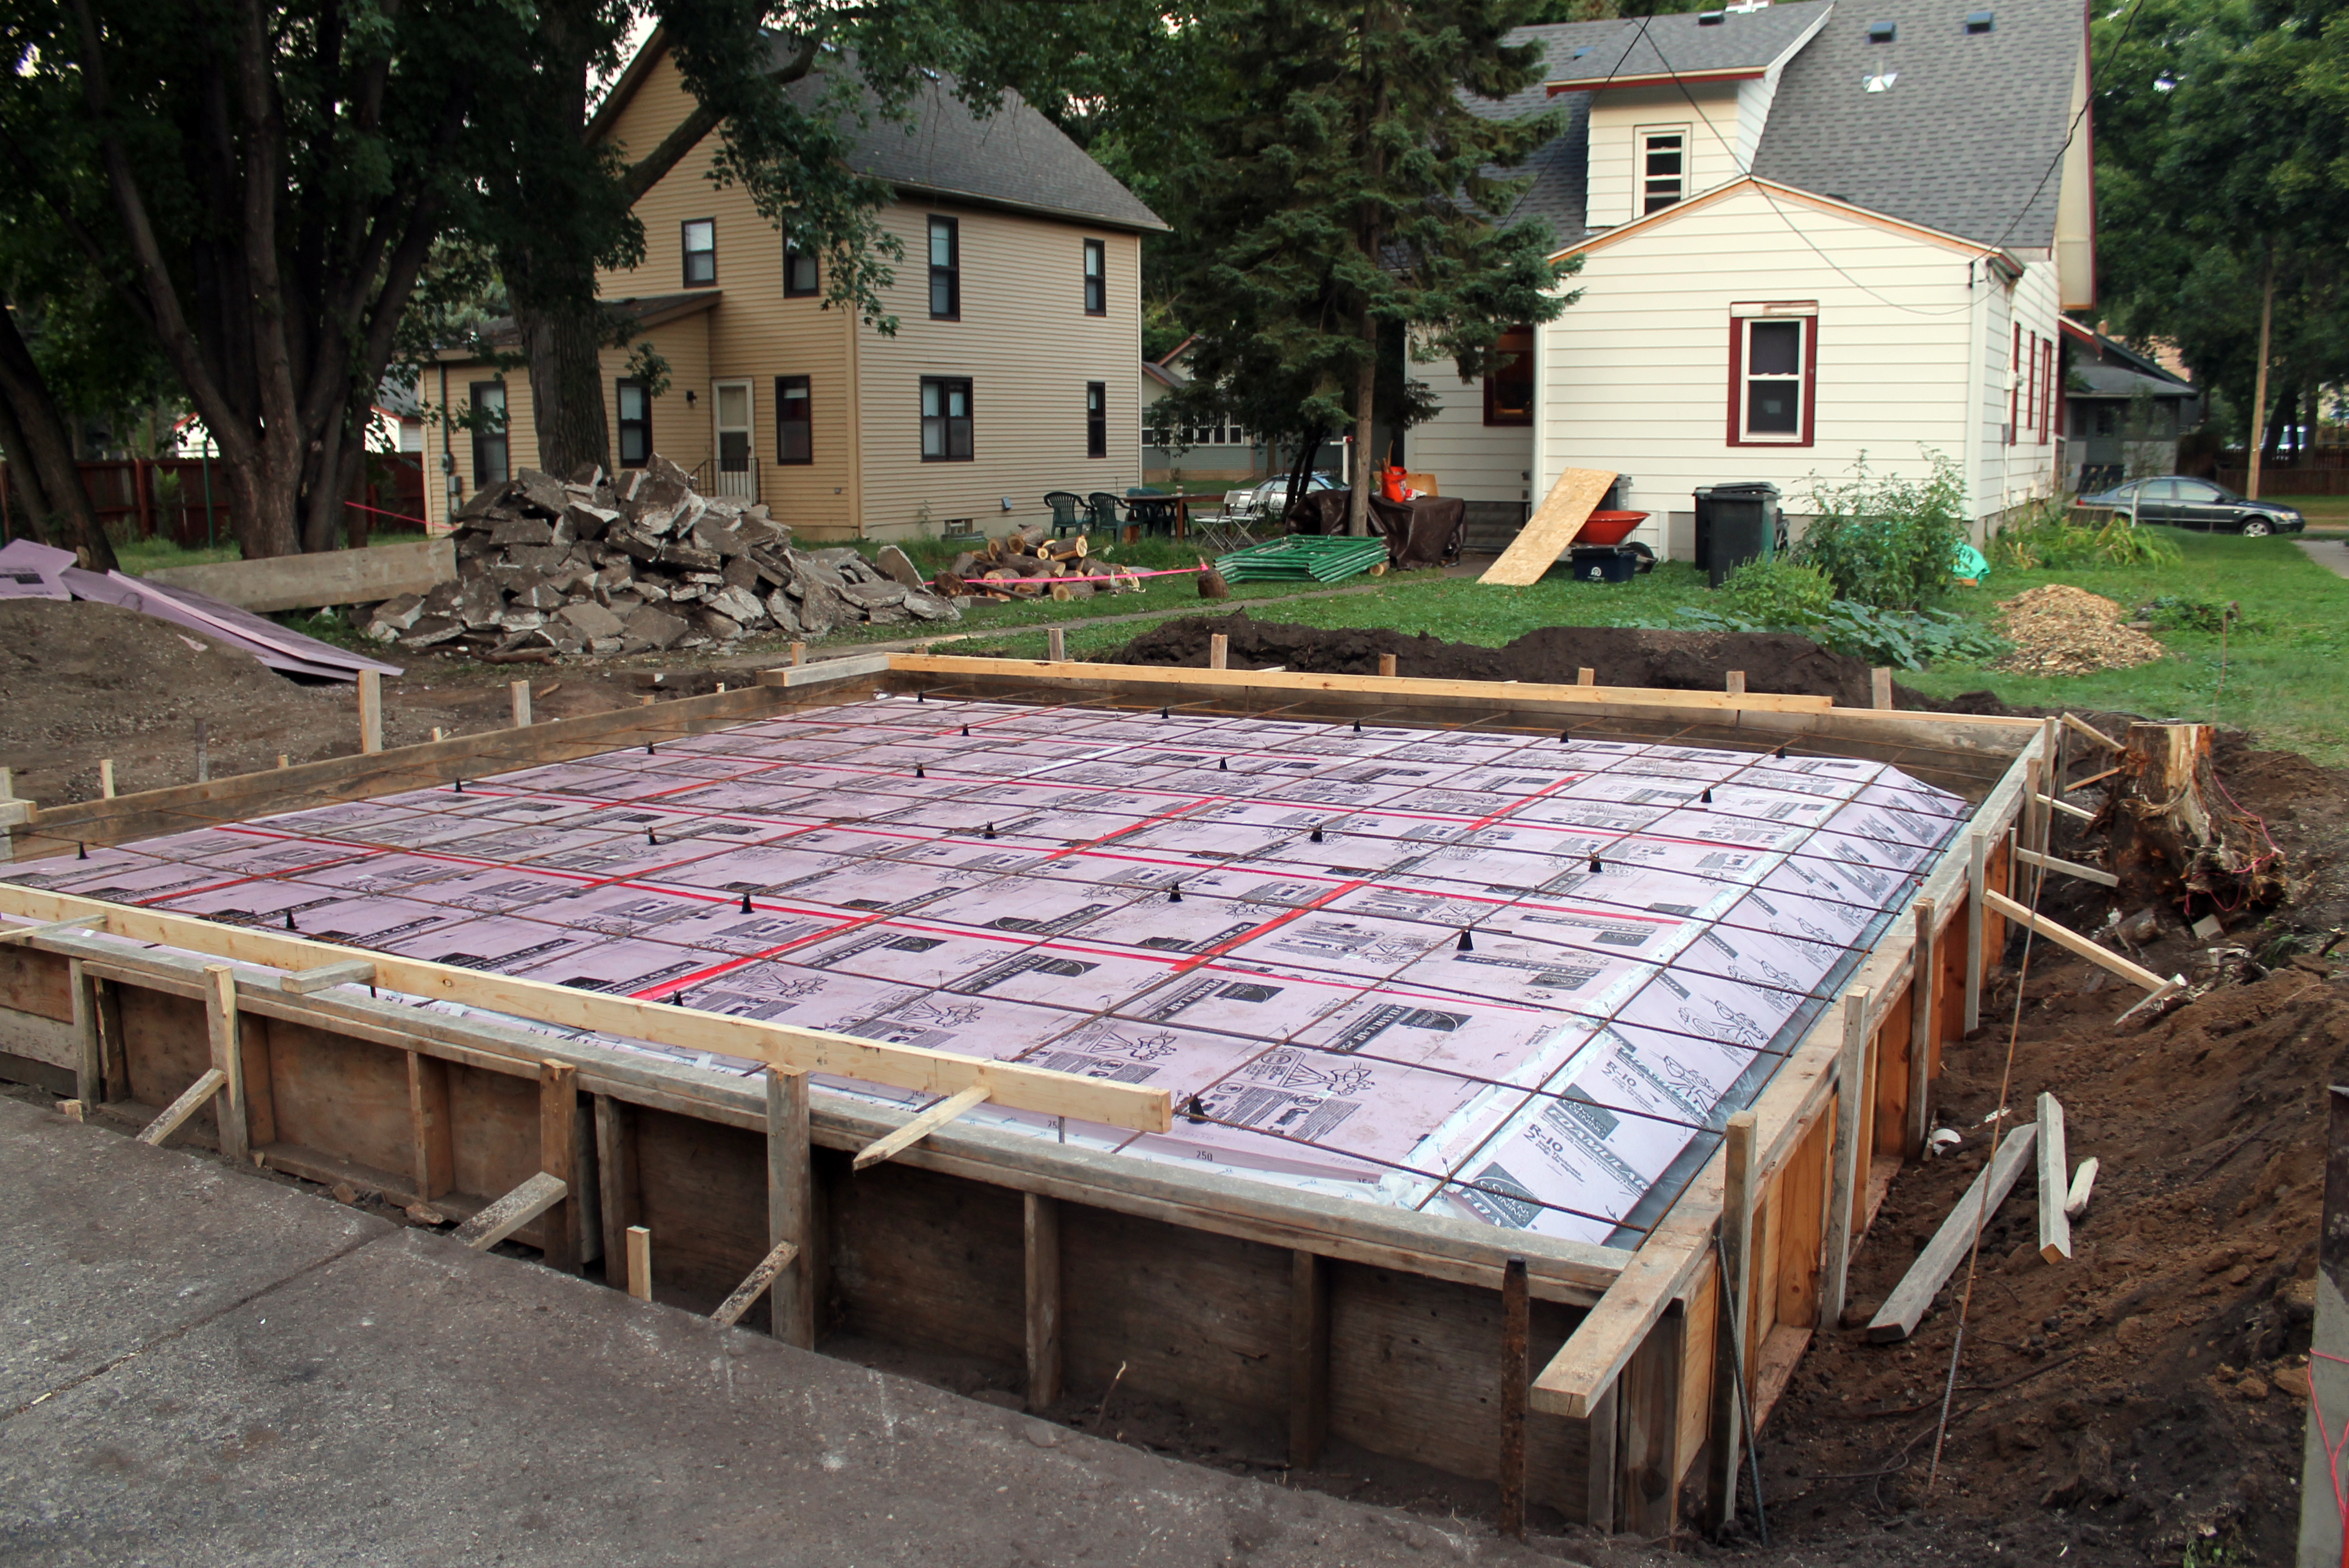
I designed the studio with a frost-protected slab. Here in the Middle, the winter temperatures can get down to -20 degrees Fahrenheit for days at a time and I didn’t want the slab being pushed around by frost heave. Therefore, the downturned slab edge at the perimeter of the slab is deeper than one typically designs for a traditional slab on grade installation, and rigid insulation was placed both vertically along the perimeter, as well as horizontally for two feet away from the bottom of the downturned slab edge. This technique helps to prevent the frost from creeping under the slab. The studio will be heated, so I specified sub-slab insulation as well to prevent too much heat from being lost through the floor.
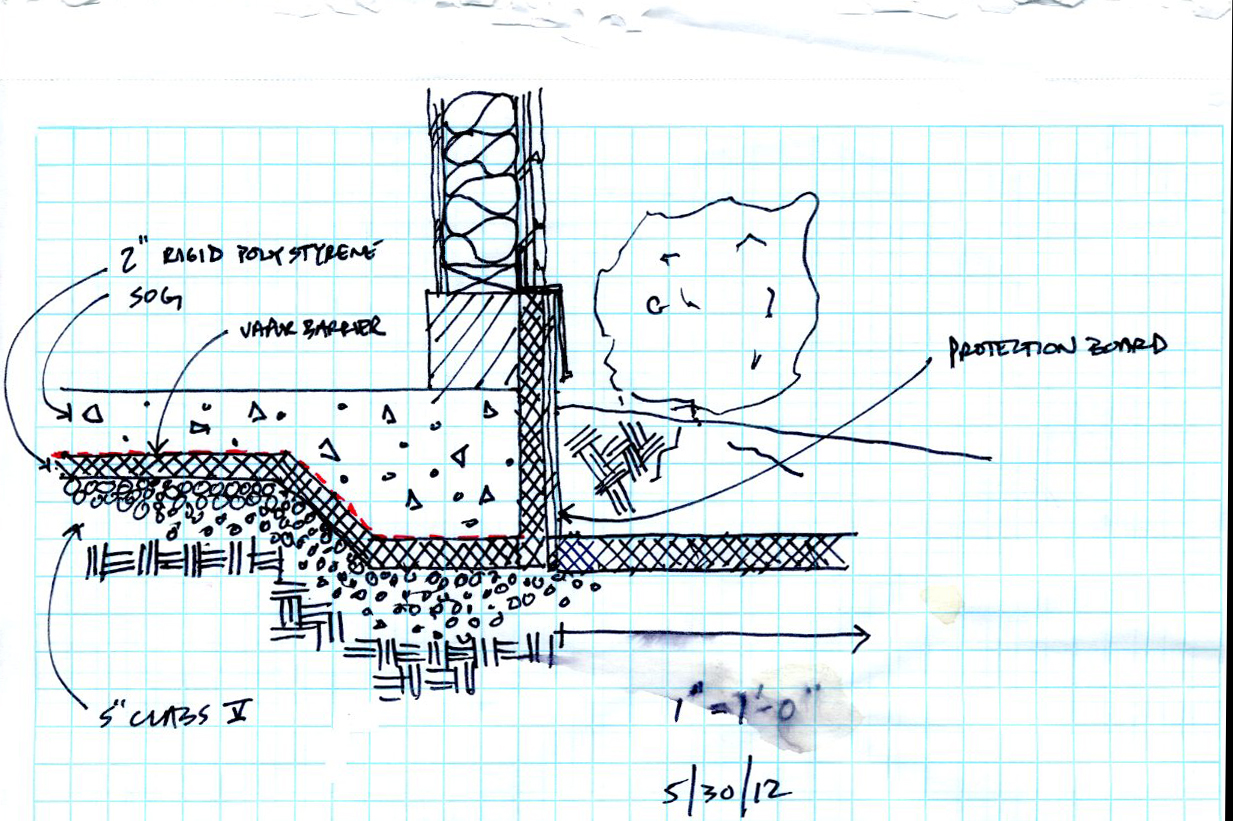
Sketch showing the slab edge detail.

Sub-slab rigid insulation with 3/8″ rebar 24″ o.c.
I also included in my design for the slab a detail that I picked up from the garage at my parents’ cabin in Colorado. Where the garage door sits on the slab, this detail creates a secondary barrier for wind-driven rain or for snow sitting in front of the door. Water might make it under the garage door base seal, but it doesn’t make it past the half-inch lip. One typically will see this concept accomplished a different way, whereby one embeds a steel pipe half-way into the concrete at the location where the door seal rests on the slab. Again, the idea is creating a slight elevation change to counter the water’s inward progress. The problem with steel pipes is that they rust and corrode over time, leaving unsightly staining on the concrete.
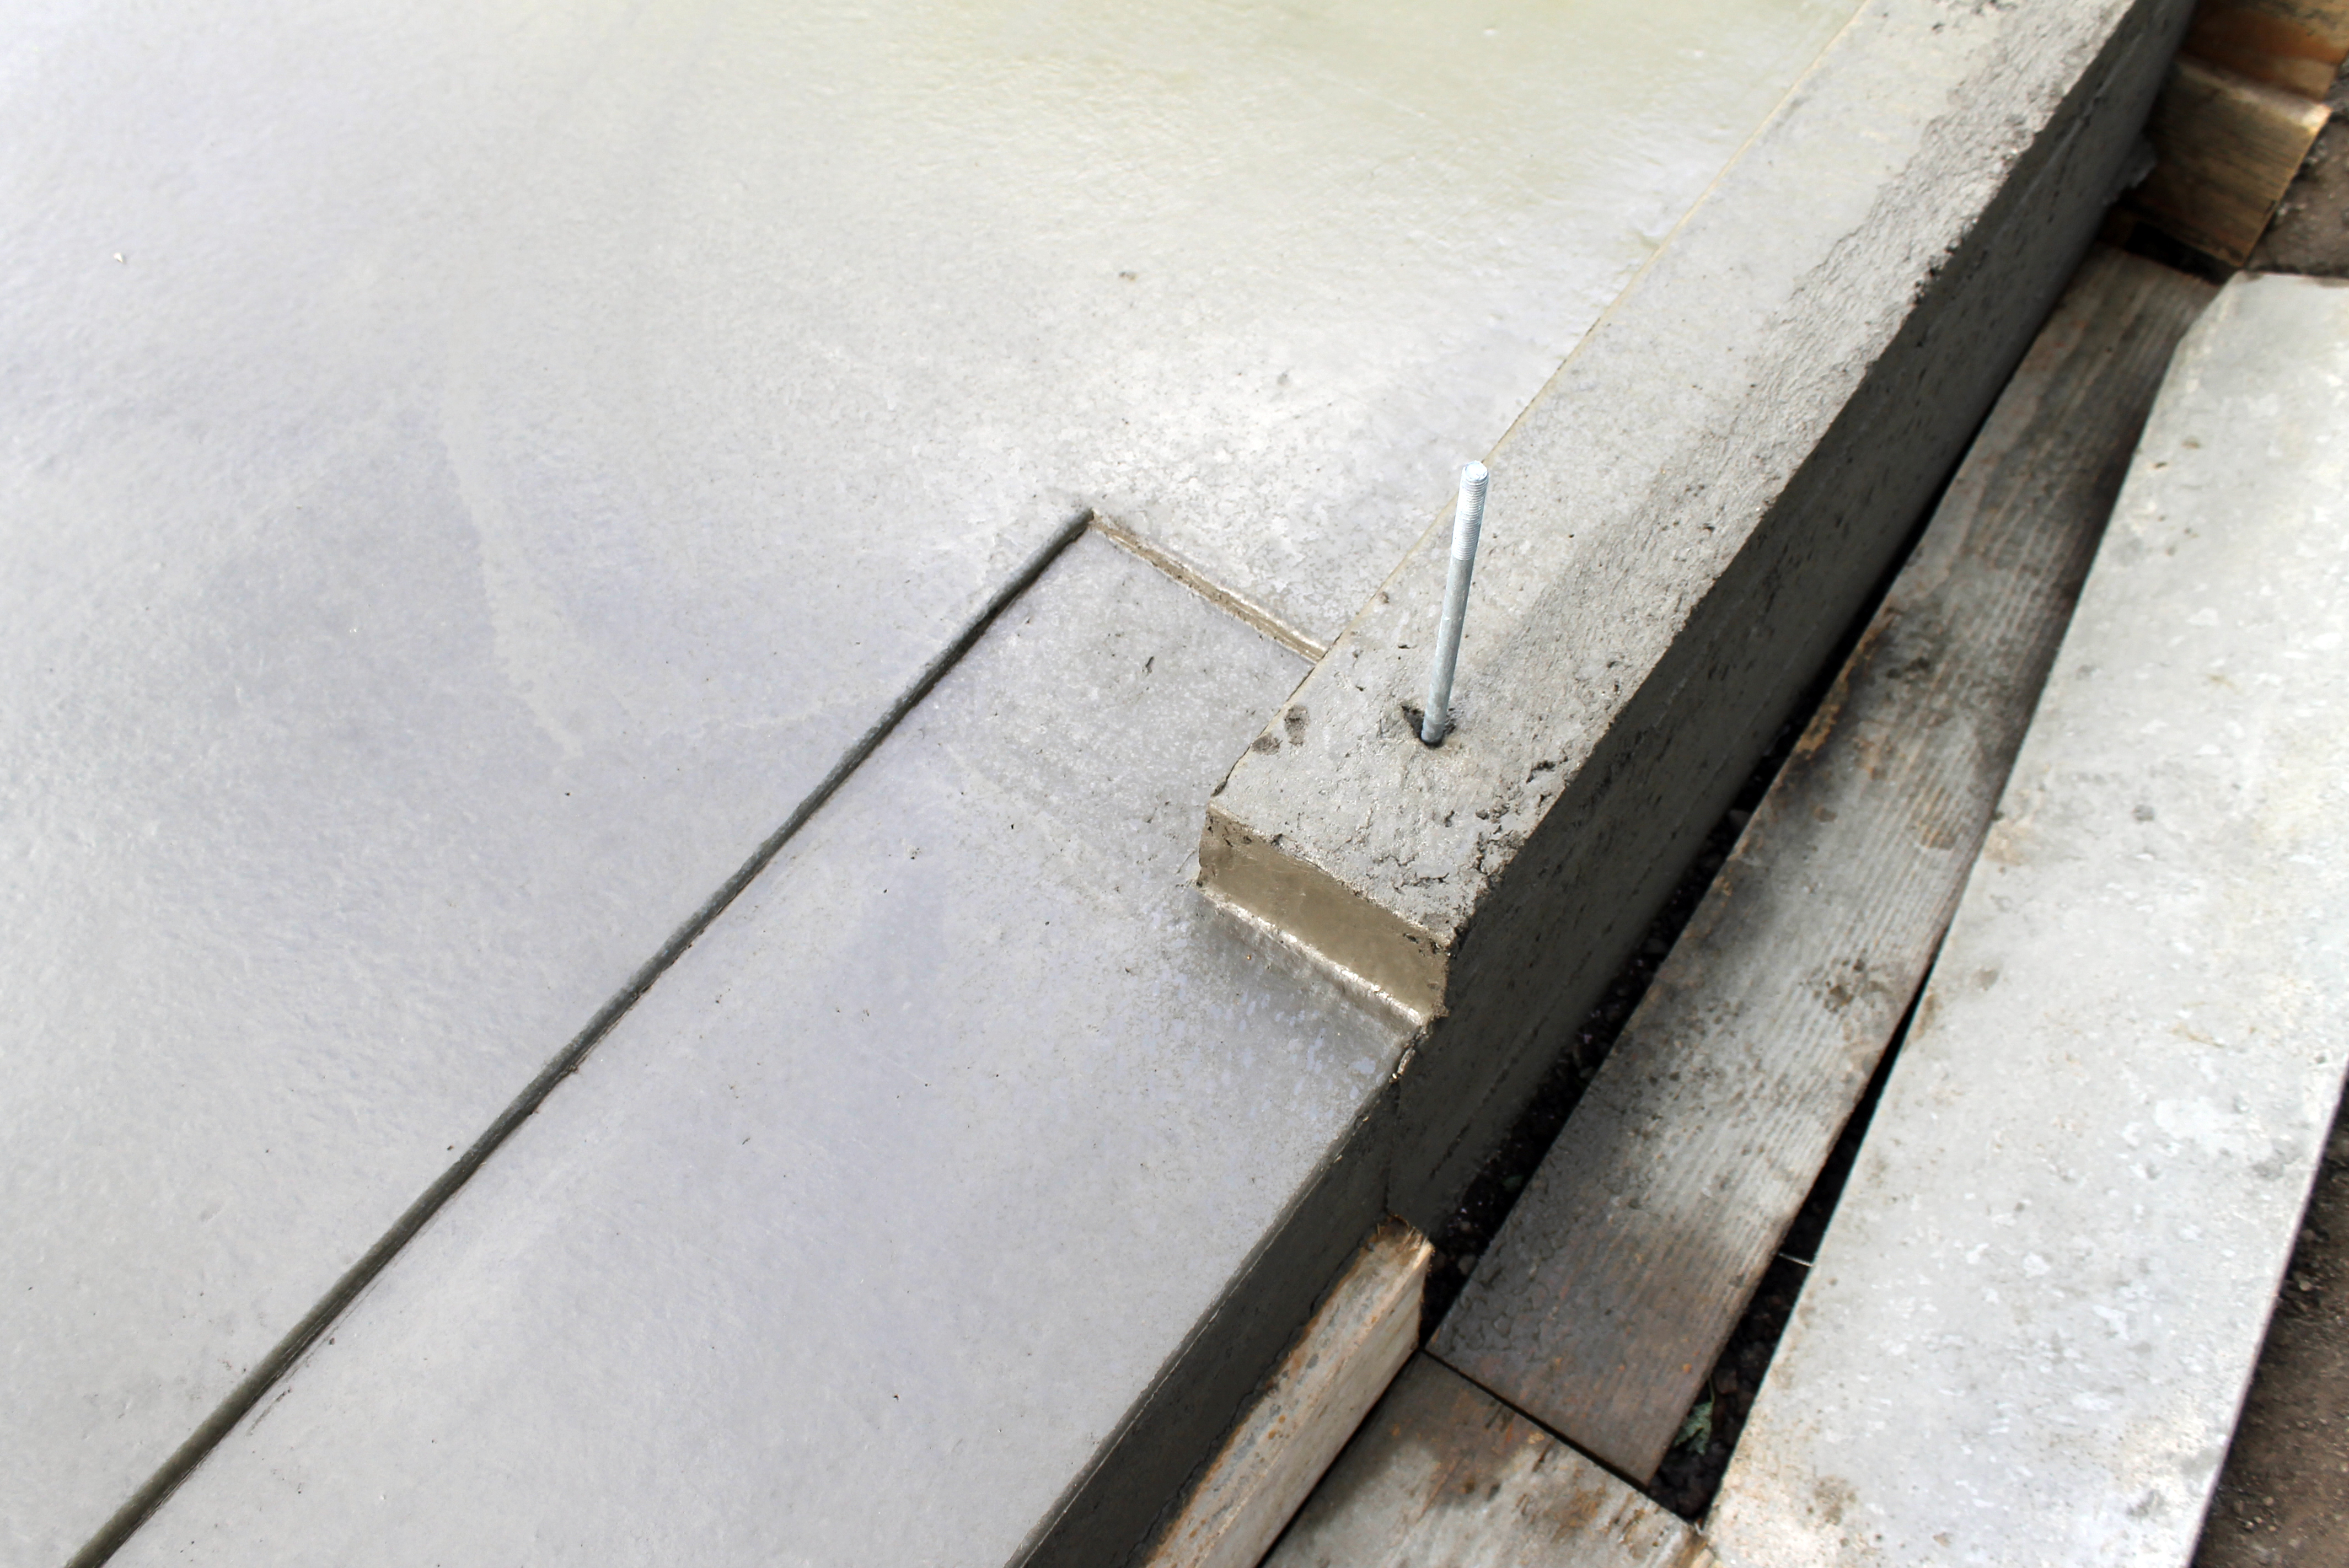
Wind-driven water might make it past the garage door seal, but it won’t make it up the 1/2″ lip. The exposed anchor bolt indicates the location of the future course of CMU block yet to be laid. The studio floor slopes 1/4″ per foot from the back wall to the front garage door. Therefore, at the front, the CMU will sit on a formed curb.
As a final precautionary measure against water infiltration, I asked the concrete contractor to lay one course of concrete block on top of the slab perimeter. This lifts the treated sill plate of the walls off of the slab and prevents water from sneaking under the plate and into the garage.

Matt,
Very interesting so far. What a great idea to take on and document this project! I am, as your former studio neighbor, very interested about what happens when you get to the steel . . .